This post contains affiliate links. I may earn a small commission at no extra cost to you.
It started with a bag of chalk I bought at the dollar section of Target. Not even a real art supply — just the kind kids use on sidewalks. I had a small chalkboard propped up in my kitchen that had been sitting blank for three months, and it was October, so I figured: why not try something Halloween-themed? If it looked terrible, I’d just wipe it off.
I drew a lopsided haunted house, wrote “Boo” underneath it in slightly wobbly letters, and then took a step back.
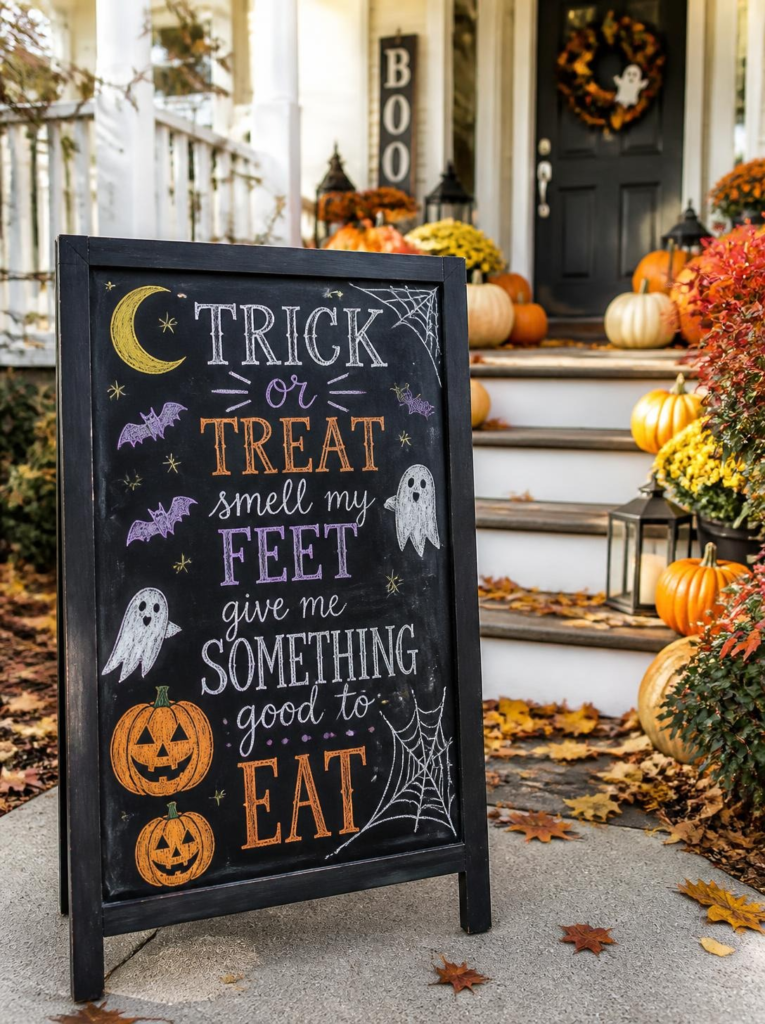
I loved it. Genuinely loved it. And so did everyone who came over that month.
That was three years ago. Since then, Halloween chalkboard art has become one of my favorite parts of fall decorating — because it’s fast, it’s cheap, it’s completely forgiving, and there’s something about the look of white chalk on a dark background that just screams October in the best way possible. If you’ve been curious about trying it, this post is me walking you through everything I’ve learned so you don’t have to start from scratch the way I did.
Why Chalkboard Art and Halloween Are Such a Good Match
I think about this more than is probably normal, but: Halloween has a very specific visual language. It’s monochromatic, it’s graphic, it’s a little bit spooky and a little bit playful at the same time. Skulls, moons, bare trees, spiderwebs — almost everything iconic about Halloween looks great as a simple line drawing.
Which is exactly what chalkboard art is. You’re not painting, you’re not blending colors. You’re drawing in white (or off-white) on a dark surface, which means the style automatically looks clean and a little bit vintage and more intentional than it has any right to be.
The other thing that makes it perfect for Halloween specifically is the impermanence. Halloween decor has a short window — maybe three to four weeks if you stretch it. Chalkboard art is designed to be wiped off and redone. There’s no guilt about “wasting” a decoration on a holiday that’s over in a blink.
Quick note: Chalkboard art also travels really well across surfaces — a framed chalkboard, a chalkboard sign from the craft store, a painted piece of MDF, even a dark piece of cardstock. The “chalkboard” itself is almost beside the point once you know what you’re doing.
What to Actually Put on a Halloween Chalkboard (The Ideas That Work Every Time)
This is the part people get stuck on. They find a blank chalkboard, they have the chalk, and then they just… freeze. So here’s what I’ve discovered after a few years of doing this: the ideas that look the most impressive are almost always the simplest ones to execute.
A Single Statement Quote
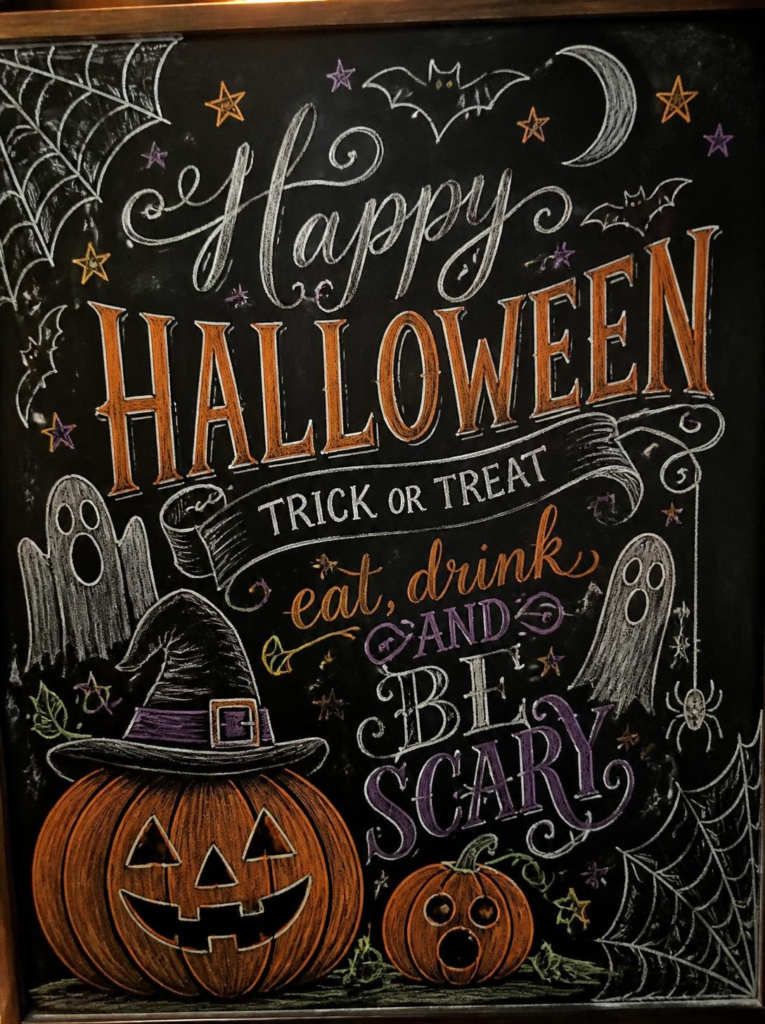
This is the one I come back to most often because it requires zero drawing skill. Just pick a good Halloween phrase, choose a font style (all caps, or a mix of print and cursive), and fill the board.
My personal favorites: “In this house, we put the ‘boo’ in ‘budget.'” (no one ever guesses that one) — “Eat, drink, and be scary.” — “Something wicked this way comes.” The Shakespeare one especially looks stunning in elegant lettering with a small moon or raven drawn in the corner.
The trick with quote-only boards is to vary your text sizes. The main phrase goes big. A smaller secondary line underneath (a date, a word, “Halloween 2025”) anchors it. That contrast is what makes it look designed rather than just written.
Silhouette Scenes
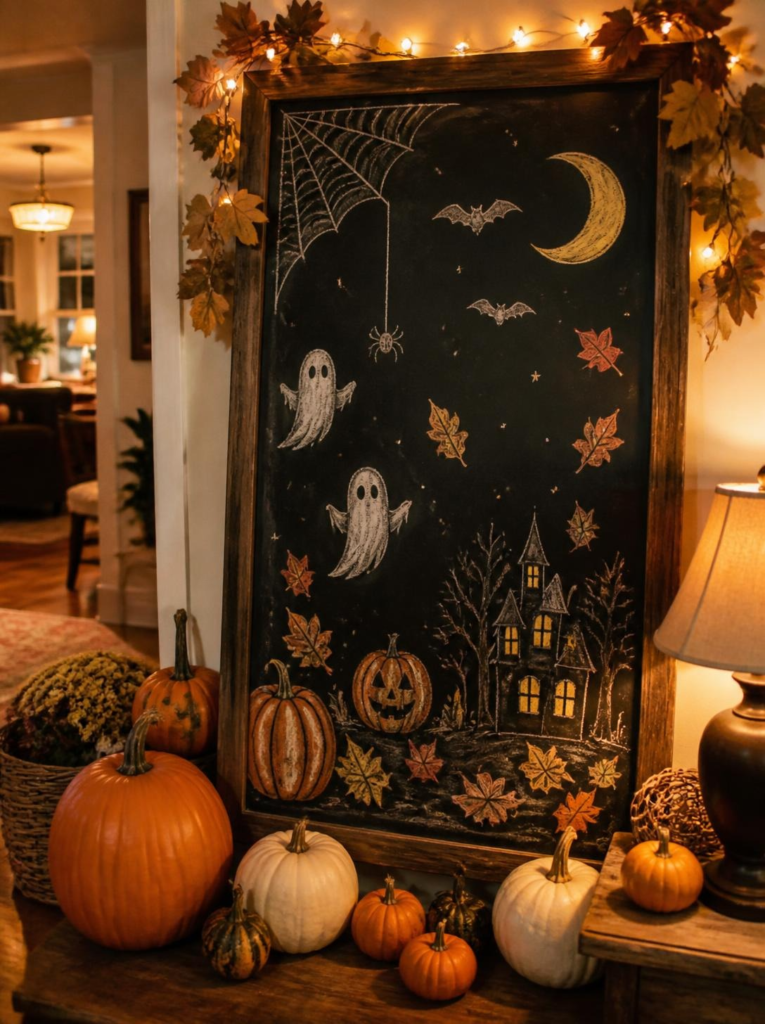
This is the approach that looks the most complex but is actually incredibly forgiving because everything is a solid fill — there’s no detailing required. A haunted house on a hill. A graveyard with a full moon behind it. A tree with a witch flying past.
The technique: sketch lightly with chalk first, then fill in the silhouette shapes solidly. The light sketch lines disappear under the fill. Nobody will ever know you drew the house three times before you were happy with the roofline.
What actually makes silhouette scenes look good: layering. Put a moon or stars in the background first. Then add the main scene in front of it. The sense of depth you get from that simple background-to-foreground approach is what elevates the whole thing.
Typography + One Small Drawing
This is my go-to formula when I’m short on time and want something that looks intentional. Big lettering — “Haunted,” “Spooky Season,” “All Hallows’ Eve” — with one small, well-drawn element next to it or below it. A little pumpkin. A single ghost. A crescent moon.
The small drawing doesn’t need to be perfect. In fact, slightly imperfect is more charming. What matters is that the lettering is clean and takes up most of the space. One strong piece of typography anchors everything else.
Pumpkin Face Gallery
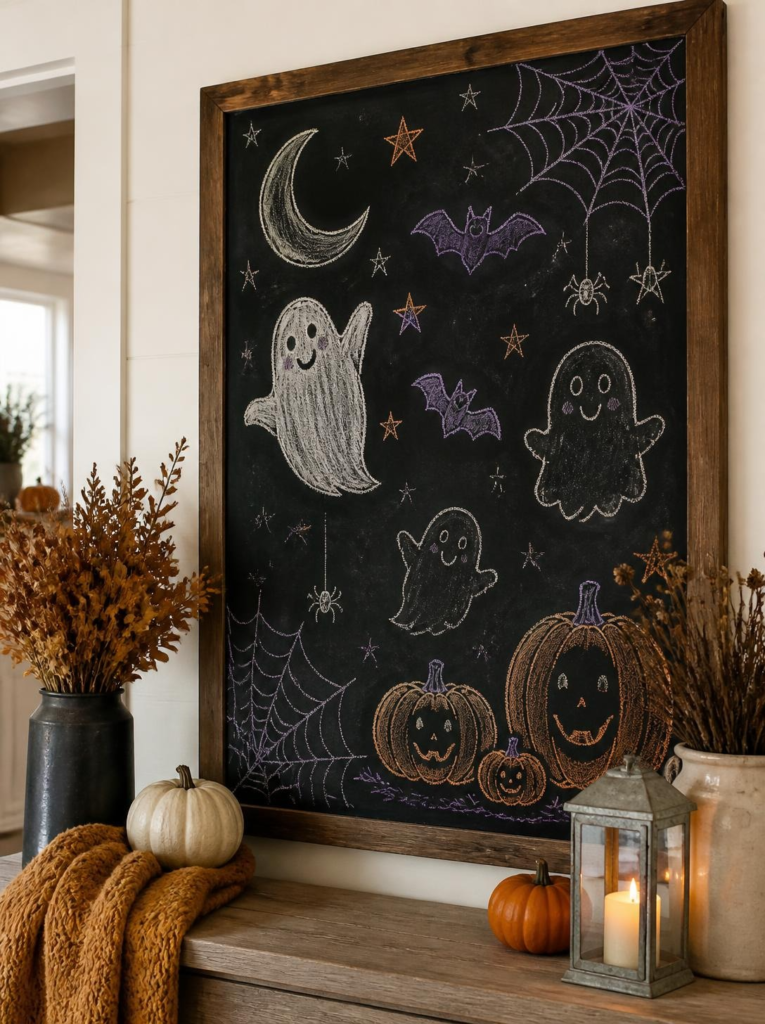
This one is underrated and genuinely easy. Draw three or five pumpkin outlines across the bottom of the board in different sizes — oval, round, slightly lopsided, doesn’t matter — and give each one a different carved face. A classic triangle-eye grin on one. A silly surprised face on another. A fancy scrollwork design on one if you’re feeling ambitious.
Label them underneath if you want (“The Classic,” “The Chaos One,” “The Overachiever”). It’s funny, it’s seasonal, and it requires absolutely no artistic talent beyond drawing a rough oval and some shapes inside it.
The “Apothecary Label” Approach
This one looks like you spent a lot of time on it and actually takes about 20 minutes. Draw a simple rectangular border. Write something like “Witch’s Brew” or “Poison Apple Extract” in large letters. Add a few decorative dashes or simple flourishes around the border. List some fake “ingredients” in small print below the main text.
It reads as vintage apothecary label and photographs beautifully. People always ask where you got it. You can tell them the truth — chalk and fifteen minutes — and watch their faces.
How to Make Halloween Chalkboard Art Actually Easy (My Honest Process)
I want to be upfront about something: the first time I tried more than a simple quote, I wiped it off and started over twice. That’s normal. The wipe-and-redo is the whole point of chalkboard art. Here’s the process that finally made things click for me.
Step 1: Find your reference image, but don’t copy it exactly
I always search Pinterest or Google Images first — not to copy a design, but to figure out what visual elements I want to use. A haunted house shape I like here. A font style I like there. I’m building a mood board in my head, not tracing anything.
Copying exactly is where people get frustrated, because you end up comparing your freehand version to a professionally photographed finished piece and feeling bad about yours. Instead, borrow the
idea and let your hand do its own version.
Step 2: Sketch with the side of the chalk first
Using the thin tip of chalk for the initial sketch is how you end up with stiff, overthought lines. The side of the chalk makes softer marks that erase more easily and feel more natural to draw with. Sketch out your basic composition loosely, stand back, see if the proportions feel right, and then adjust before committing.
Step 3: Go over your lines with intention
Once the sketch feels right, go over it with more deliberate strokes — pressing a little harder, drawing more smoothly. These are your “final” lines. The sketch underneath will blend into them.
Step 4: Smudge strategically
Your finger is one of your best tools. Smudging chalk slightly on a background element (like a moon or a sky) creates a soft, atmospheric glow that you absolutely cannot achieve by drawing. It also helps with the “chalkboard art” aesthetic that makes everything look moody and intentional.
Supply reality check: You don’t need expensive chalk. Regular sidewalk chalk works on most chalkboard surfaces. Chalk markers (the kind with a fine tip) are great for precise lettering but take longer to erase. I use both depending on the project.
The Supplies That Actually Matter
People over-complicate this. Here’s my honest list:
- A chalkboard surface. A framed chalkboard from a craft store (usually $10-20), a chalkboard sign, or a piece of wood painted with chalkboard paint. I’ve even used dark craft paper in a pinch.
- Regular chalk. White is the classic. Warm white or ivory often looks more vintage and a little softer. A multi-color pack is fun if you want to add an orange pumpkin or a purple moon.
- Chalk markers (optional). These give you crisp, clean lines for lettering. Erasure requires a damp cloth and a little patience. Worth it for quote-heavy designs.
- A small brush or dry cloth. For wiping clean. Wet erasing removes everything; dry smudging blends.
- A ruler (sometimes). If you want centered text or a border, measure once rather than eyeballing and regretting it later.
That’s genuinely it. Halloween chalkboard art easy is not a lie — the supply list is short on purpose.
Halloween Chalkboard Art Supplies
| Product | Best For | Why You’ll Need It | Amazon |
|---|---|---|---|
| Liquid Chalk Markers | Colorful lettering & drawings | Perfect for creating bold Halloween lettering, spooky doodles, borders, and colorful details. | BUY ON AMAZON |
| Fine-Tip Chalk Markers | Small details & precise lettering | Great for spiderwebs, outlines, tiny decorations, and more detailed chalkboard designs. | BUY ON AMAZON |
| Black Chalkboard | Creating your Halloween display | A classic black surface makes white and colorful chalk designs really stand out. | BUY ON AMAZON |
| Halloween Stencil Set | Easy Halloween shapes | Helpful for creating pumpkins, bats, ghosts, spiderwebs, and other spooky details without drawing everything freehand. | BUY ON AMAZON |
| Chalkboard Eraser & Cleaning Kit | Making changes & reusing your board | Makes it easier to clean your chalkboard and start a completely new design when the season changes. | BUY ON AMAZON |
| Chalkboard Ruler or Lettering Guide | Straight lettering & layouts | Useful for keeping your words aligned and your overall design looking neat and balanced. | BUY ON AMAZON |
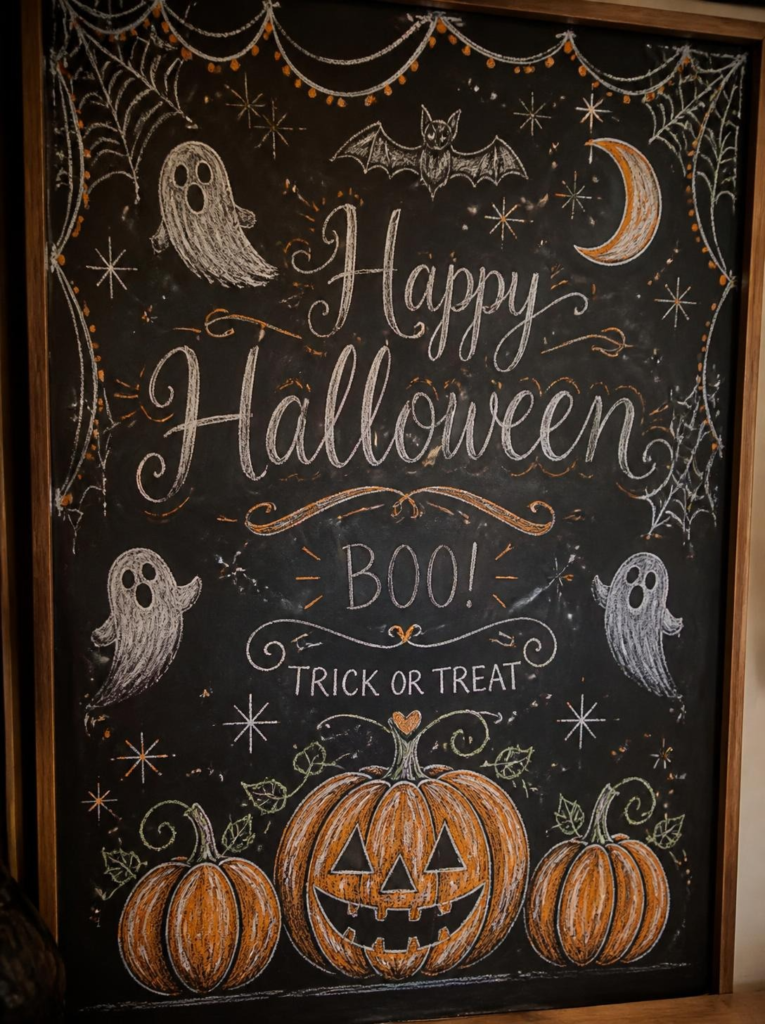
Frequently Asked Questions About Halloween Chalkboard Ideas
Do I need artistic talent to do chalkboard art?
No — and this is genuinely true, not just encouraging. The most popular Halloween chalkboard styles (quote boards, silhouettes, apothecary labels) are all very forgiving. Silhouettes are solid fills with no detail required. Quote boards are just lettering. The “imperfect” quality is part of what makes chalk art look charming rather than corporate.
What size chalkboard works best for Halloween decor?
It depends on where you’re putting it. A small 8×10 or 11×14 framed chalkboard works beautifully on a shelf or mantle. Larger signs (18×24 or bigger) make a statement as a standalone piece or propped against a wall. I personally love the medium range — around 12×16 — because it’s big enough to see clearly but small enough that you’re not committing to a huge design every time.
How do I make chalk art look more polished?
Three things: vary your text sizes (not everything at the same scale), smudge backgrounds for atmosphere, and leave breathing room — don’t try to fill every inch of the board. White space is your friend on a chalkboard even more than in print, because it keeps the dark background from feeling cluttered.
Can I seal a chalkboard design to make it last longer?
Yes — a light coat of hairspray or a matte fixative spray will keep it from smudging while still looking like chalk. Just know it won’t be as easy to fully erase afterward. For a Halloween design I want to keep up for a few weeks, I’ll lightly seal it. For something I’m likely to redo, I leave it as-is.
What’s the easiest Halloween chalkboard idea for a complete beginner?
A single quote in large block letters with one tiny drawn element (a small ghost, a crescent moon, a bat) in one corner. It takes about 10 minutes, requires zero drawing confidence, and looks genuinely great. Start there, and once you’ve done that one successfully, you’ll feel ready to try more.
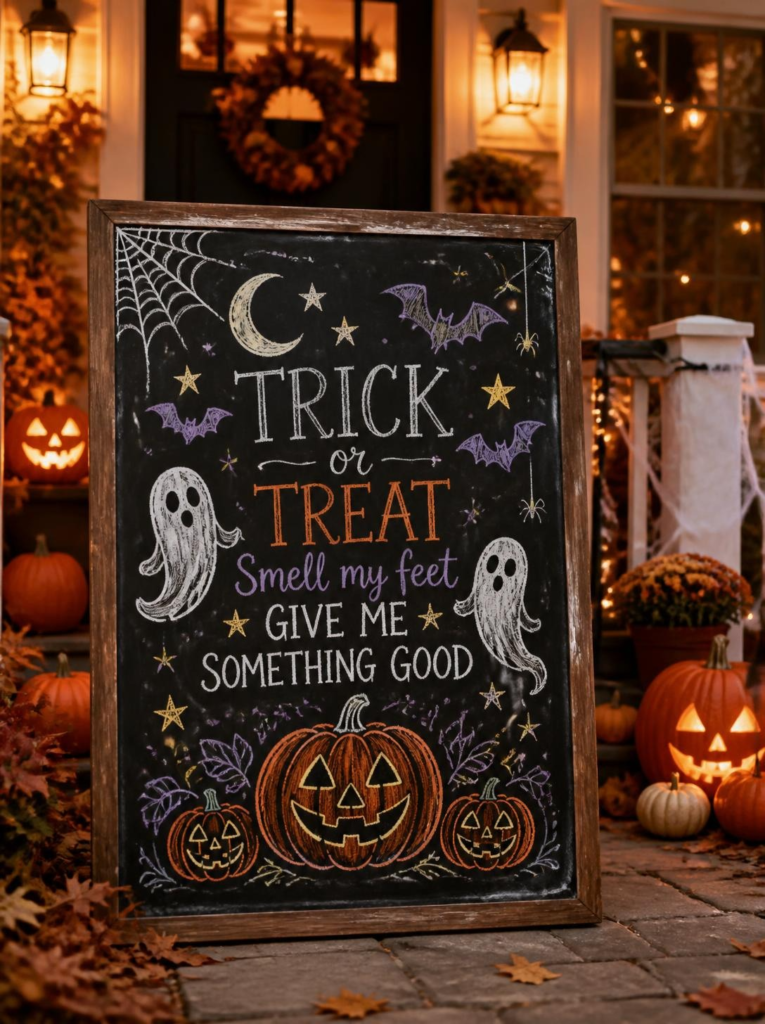
Final Thoughts
There is very little that costs less and looks more intentional in fall decorating than a well-done chalkboard. The barrier to entry is a piece of chalk and fifteen minutes of being willing to wipe it off and try again if the first attempt isn’t quite right.
Start with something small. Don’t talk yourself out of it because you think you’re not artistic enough. I promise the lopsided haunted house you draw on your first try will make you happier than you expect — and next October, you’ll already know exactly what you want to do.
If you’re looking for more creative ideas and inspiration, be sure to check out my Pinterest page!
With love – Zsana
You May Also Like:
- Halloween Outdoor Decoration Ideas: How I Love to Decorate My Porch
- Pumpkin Carving Ideas for Halloween | Fun, Spooky & Creative Designs
- Halloween Movie Night Ideas: Cozy, Spooky, and So Much Fun
- Fall Mantel Decor Ideas You’ll Want to Copy This Year 2025
- Fall Decor Ideas to Make Your Home Feel Like a Hug
- 16 Fall Doormat Ideas That Are Perfect for Your Front Porch
- Cozy Free Fall Wallpapers to Warm Your Heart This Season
